4L60E Repair Guide - Removal      

<< PREVIOUS              NEXT >>

TRANSMISSION REMOVAL

Raise vehicle and place securely on jack stands so that there is at least 19“ of clearance at the side to enable removal of the transmission from beneath the vehicle.  More would be better, but that is what is necessary.


Start and warm the engine (primarily, the exhaust system).  The exhaust heat will make it easier to loosen the exhaust flange stud nuts and the oxygen sensors.  You can even perform this from beneath the vehicle while the engine is still running.  If you planned ahead, you will have already soaked the exhaust fasteners with penetrating oil.

After the exhaust fasteners are loose, and while the transmission and drive line are still warm, on AWD and 4WD vehicles, loosen the transfer case adapter and any accessible transmission bolts.  Only break them loose - Don’t spin them out. Soak any other fasteners with penetrating oil.

Place the transmission selector in NEUTRAL, disconnect the battery, and isolate the cable(s) to prevent accidental contact.

If the vehicle has a mechanical radiator fan, you may want to remove either the fan or fan shroud to allow the engine to tilt without interference.

Transfer Case Plugs
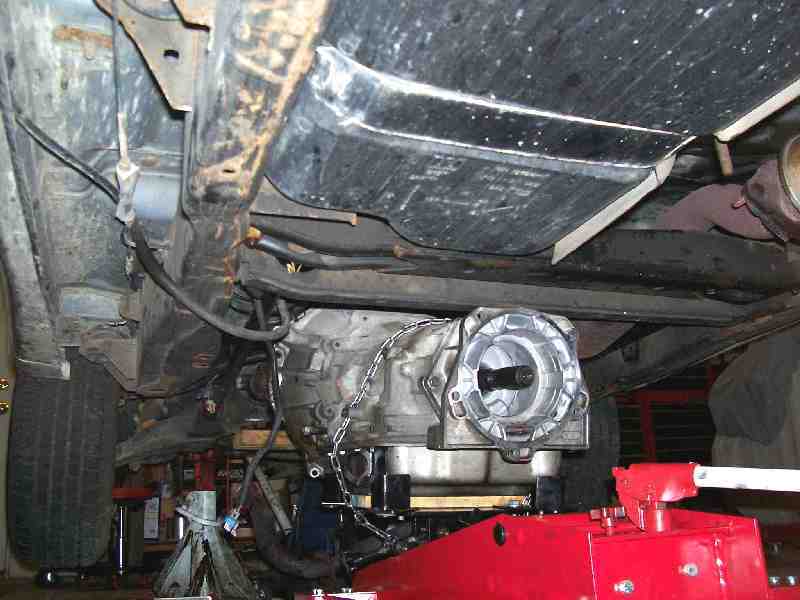
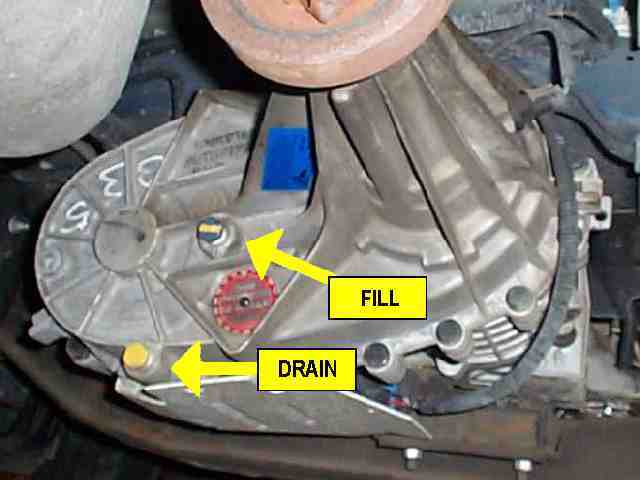
Drain the transfer case (if equipped). On AWD and 4WD vehicles with a floor mounted shift lever for the transfer case, remove the interior floor trim and disconnect the shift linkage. 

Match-mark the universal joints at their differential ends (paint works well for this) so they can be assembled in the same orientation, then remove the drive shafts.  The AWD front drive shaft has a detent locking ring on the splined transfer case output shaft.  It may require a light bump with a pry bar to disengage the drive shaft from the transfer case end.

Remove the oxygen sensor(s).  If the vehicle has post-converter sensors, mark the rear sensors as they are sometimes different from the main (front) sensors.

Remove the exhaust crossover and pipes/exhaust assembly as necessary. Most frequently the crossover will interfere with removal and installation of the transmission, and it must be removed. 

Remove the transmission neutral safety switch wiring, main electrical harness, transmission cooler lines, shift linkage, and disconnect any clips or brackets which may be mounted to the transmission.  On several vehicles the fuel and vapor lines and other electrical harnesses are attached to the transmission housing by clamps.

Transfer Case Brace
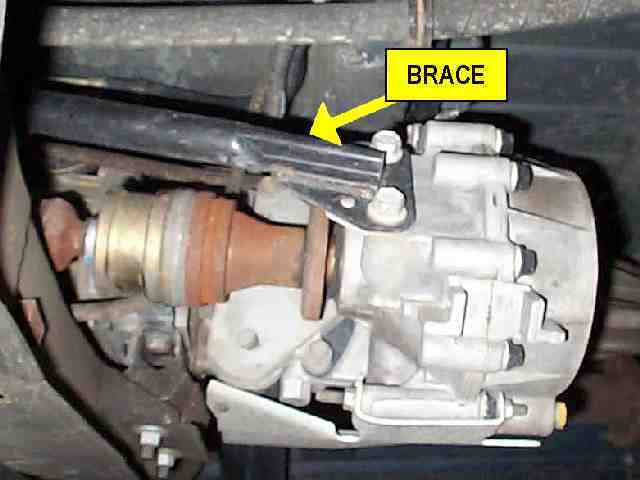
Some vehicles will have additional brackets or supports for the transmission and/or transfer case.
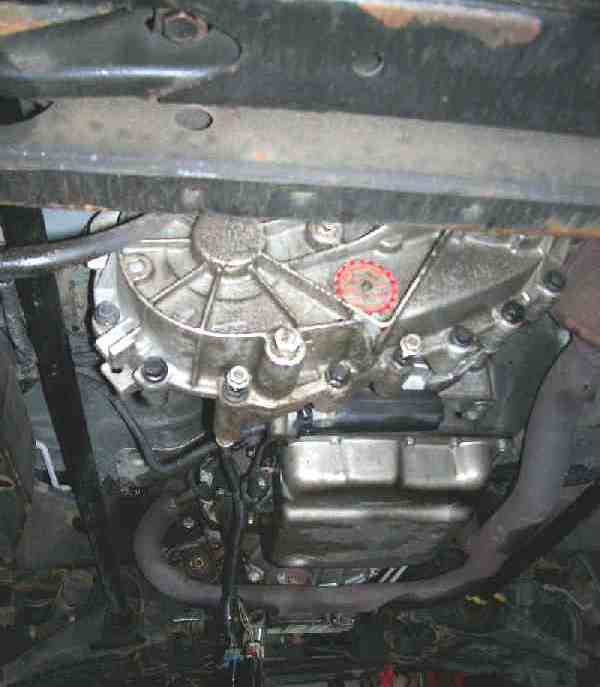
On AWD and 4WD vehicles, support the transmission securely beneath the pan with a separate jack and wood block.  Do not use your transmission jack for this since you may need to use two jacks simultaneously to maneuver the transfer case from the vehicle.

Remove the transmission mount and mounting cross member. 

NOTE: On Astro and Safari AWD vans, the cross member which mounts the rear of the transmission also carries the anchors for the fixed ends of the torsion bars.  Some additional steps will be necessary to enable the cross member to be removed safely.  Apply penetrating oil to both torsion bar anchor/adjustment screws, then back off the screws while counting the number of turns.  Make a note of this so they can be adjusted to the same position upon assembly.  Once tension is relaxed from both torsion bars, remove the cross member and slide the bars from their sockets at both ends. 

Mark the bars for orientation, both left/right and front/rear ends of each bar.   You'll want to install them in the exact orientation they were originally installed.


Transfer Case RemovalFor AWD and 4WD vehicles, remove the skid plate from the bottom of the case, and disconnect all electrical connectors and the vent hose.  Support the transfer case on your trans jack. Unbolt the transfer case from the transmission adapter and remove it. 

NOTE: On a Blazer/Jimmy there is precious little room to remove it due to the center cross member, so it will have to be twisted and tilted to clear the cross member on the way out. 

 
Remove the starter from the engine and remove the stamped steel closure ring surrounding the starter opening.

Rotate the engine to align a torque converter bolt with the starter hole, and match-mark the converter and flexplate for orientation so they can be assembled exactly as removed.  The converters are supposed to be neutral balanced independently of the flexplate, but it is always safest to assemble in the same orientation.  Remove the visible torque converter bolt.  There are three converter bolts, so you will need to rotate the engine three different times to access all of them.

Support the engine safely with a separate jack and whatever rigging is necessary, then  secure the transmission jack beneath the trans.  The approximate balance point is about 1/3 of the distance backward along the length of the pan, even with the torque converter installed.  Relax the jack holding the engine and lower the transmission jack to permit access to the upper trans mounting bolts, then remove the upper bolts. 


Monitor the clearances around the rear of the engine and at the radiator as the engine is tilted downward at the rear.  Keep at least two bolts along the side of the transmission installed loosely to guide the transmission off the dowels.  Make sure all electrical harnesses, hoses, and brackets are removed and clear of the transmission.  The transmission dipstick tube is also frequently mounted by one of the trans bolts. Use a thin pry bar to loosen the transmission from the engine, since it will frequently be stuck to the mounting dowels.  Once the transmission is loose from the engine, remove all the remaining bolts, then lower the transmission.


Transmission Removal


<< PREVIOUS              NEXT >>

HOME     REMOVAL     DISASSEMBLY     ASSEMBLY     INSTALLATION
*